Linux
Getting Arduino and Arduino-like boards working properly under Linux can be a troublesome task if you are not familiar with how Linux works.
So I am going to introduce you to some of the basic tools you will need to work out why your board isn’t working as you’d like it to work.
The majority of problems a new user is faced with boil down to one simple thing: permissions. A normal user doesn’t, by default, have permission to talk to much in the way of hardware. That include serial ports and USB serial emulation ports (FTDI, etc). Fortunately granting permission to your user to access the serial ports is a simple matter, and one that you should always do by default to make life much simpler for you. This is done through a Linux permission facility called groups. A group is a name given to a collection of users, files, devices etc., that go together. Permissions can be granted on files to the group that it belongs to, and users that are in that group can access those files. On Linux most devices are just files.
The serial ports are all in the default group dialout, but your normal user isn’t. So you need to add your user to that group. Only root has the permission to do that, so use sudo to execute the commands as root. If you don’t have access to root through sudo or some other means then you will have to seek the assistance of an administrator who does have permission.
First add your user (you’re called fred, right?) to the dialout group:
$ sudo usermod -a -G dialout fred
The “-a” is of vital importance. That says “Add the user to these groups”. Without it you have “Set the user’s groups to be this list”. If you omit the “-a” by accident you will remove your user from any other groups before setting them to be in the dialout group. That means you will never be able to run sudo again. So be sure not to miss that one out, eh?
Now that has only changed the configuration files (/etc/groups in this case) and the change hasn’t actually had any effect yet. The groups are only set when you log in to the computer, so you will either need to log out and back in again or (a more definite solution, especially if you have auto-login turned on) reboot the computer.
Now you should be in the dialout group:
(before)
$ id
uid=1000(fred) gid=1000(fred) groups=1000(fred),4(adm),24(cdrom),27(sudo),30(dip),46(plugdev),113(lpadmin),128(sambashare)
(after)
$ id
uid=1000(fred) gid=1000(fred) groups=1000(fred),4(adm),20(dialout),24(cdrom),27(sudo),30(dip),46(plugdev),113(lpadmin),128(sambashare)
Now try it, see if that has got you working.
Next step, if that doesn’t fix your problems, is to see if the computer knows about the Arduino. First look to see if there is a device file for the Arduino and if it has the right permissions:
$ ls -l /dev/ttyACM* /dev/ttyUSB*
ls: cannot access '/dev/ttyUSB*': No such file or directory
crw-rw---- 1 root dialout 166, 0 Aug 24 11:05 /dev/ttyACM0
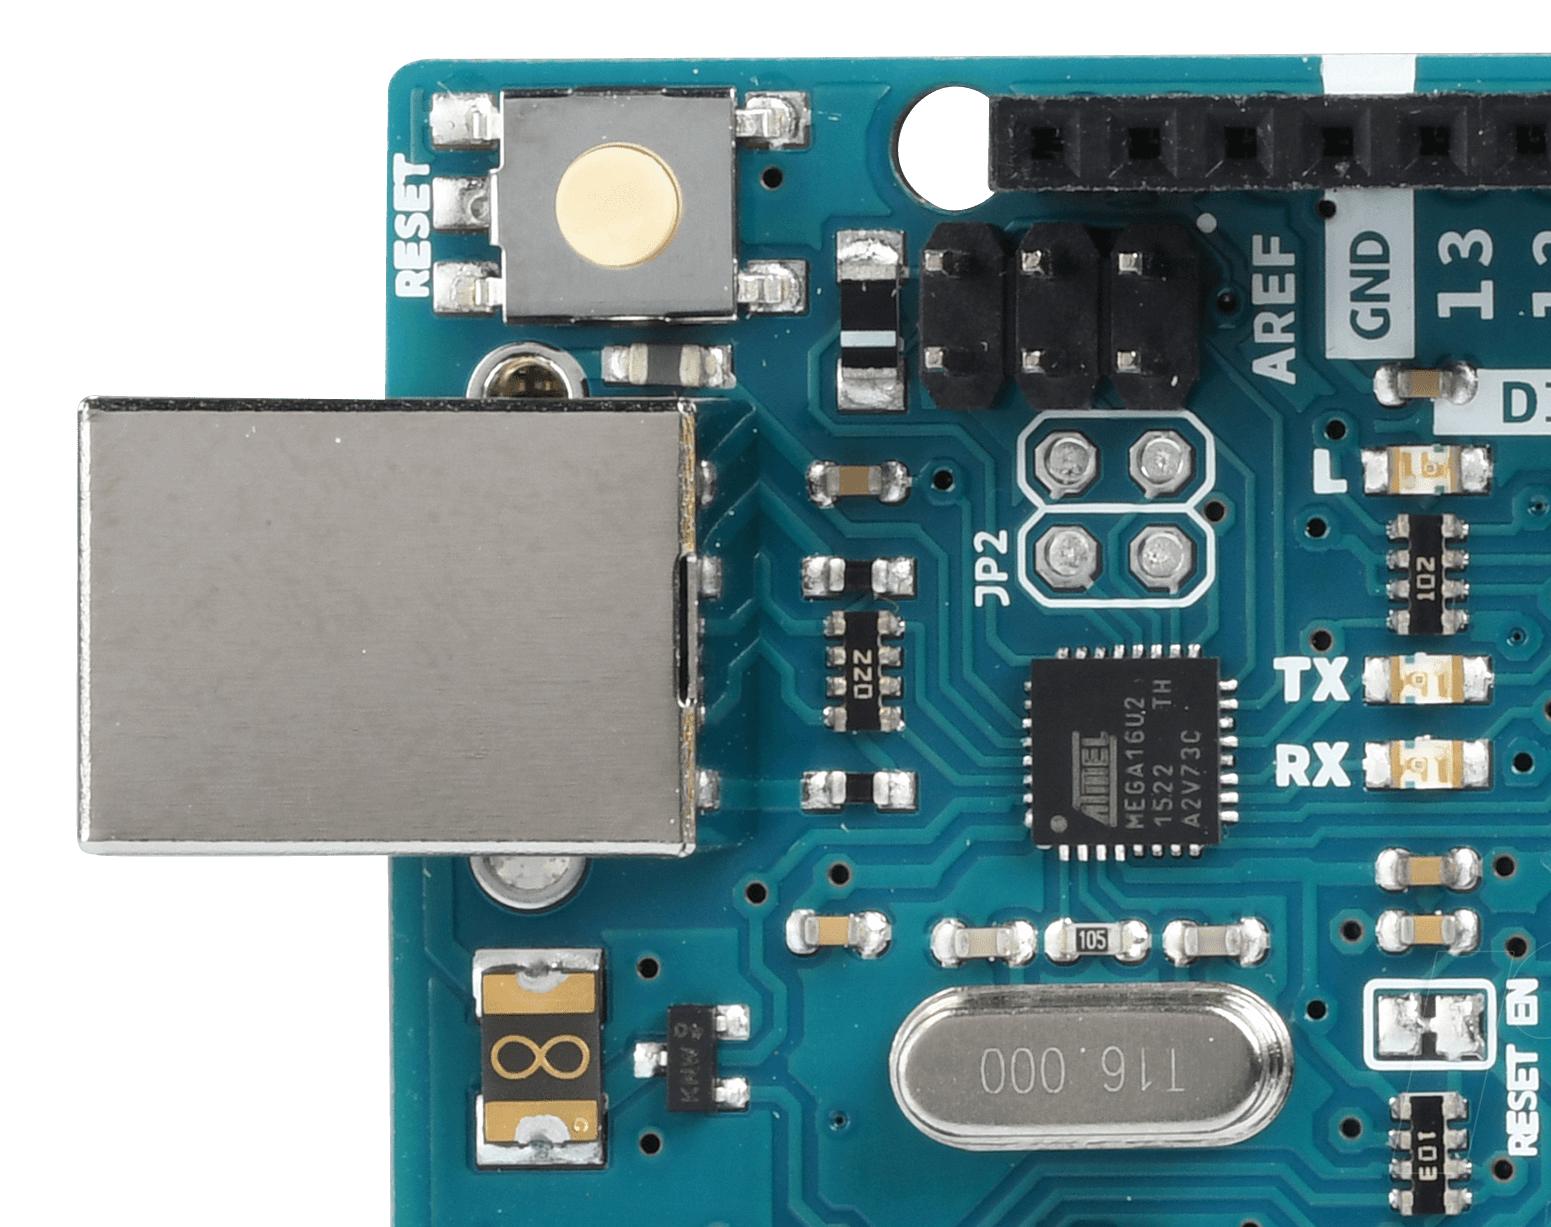
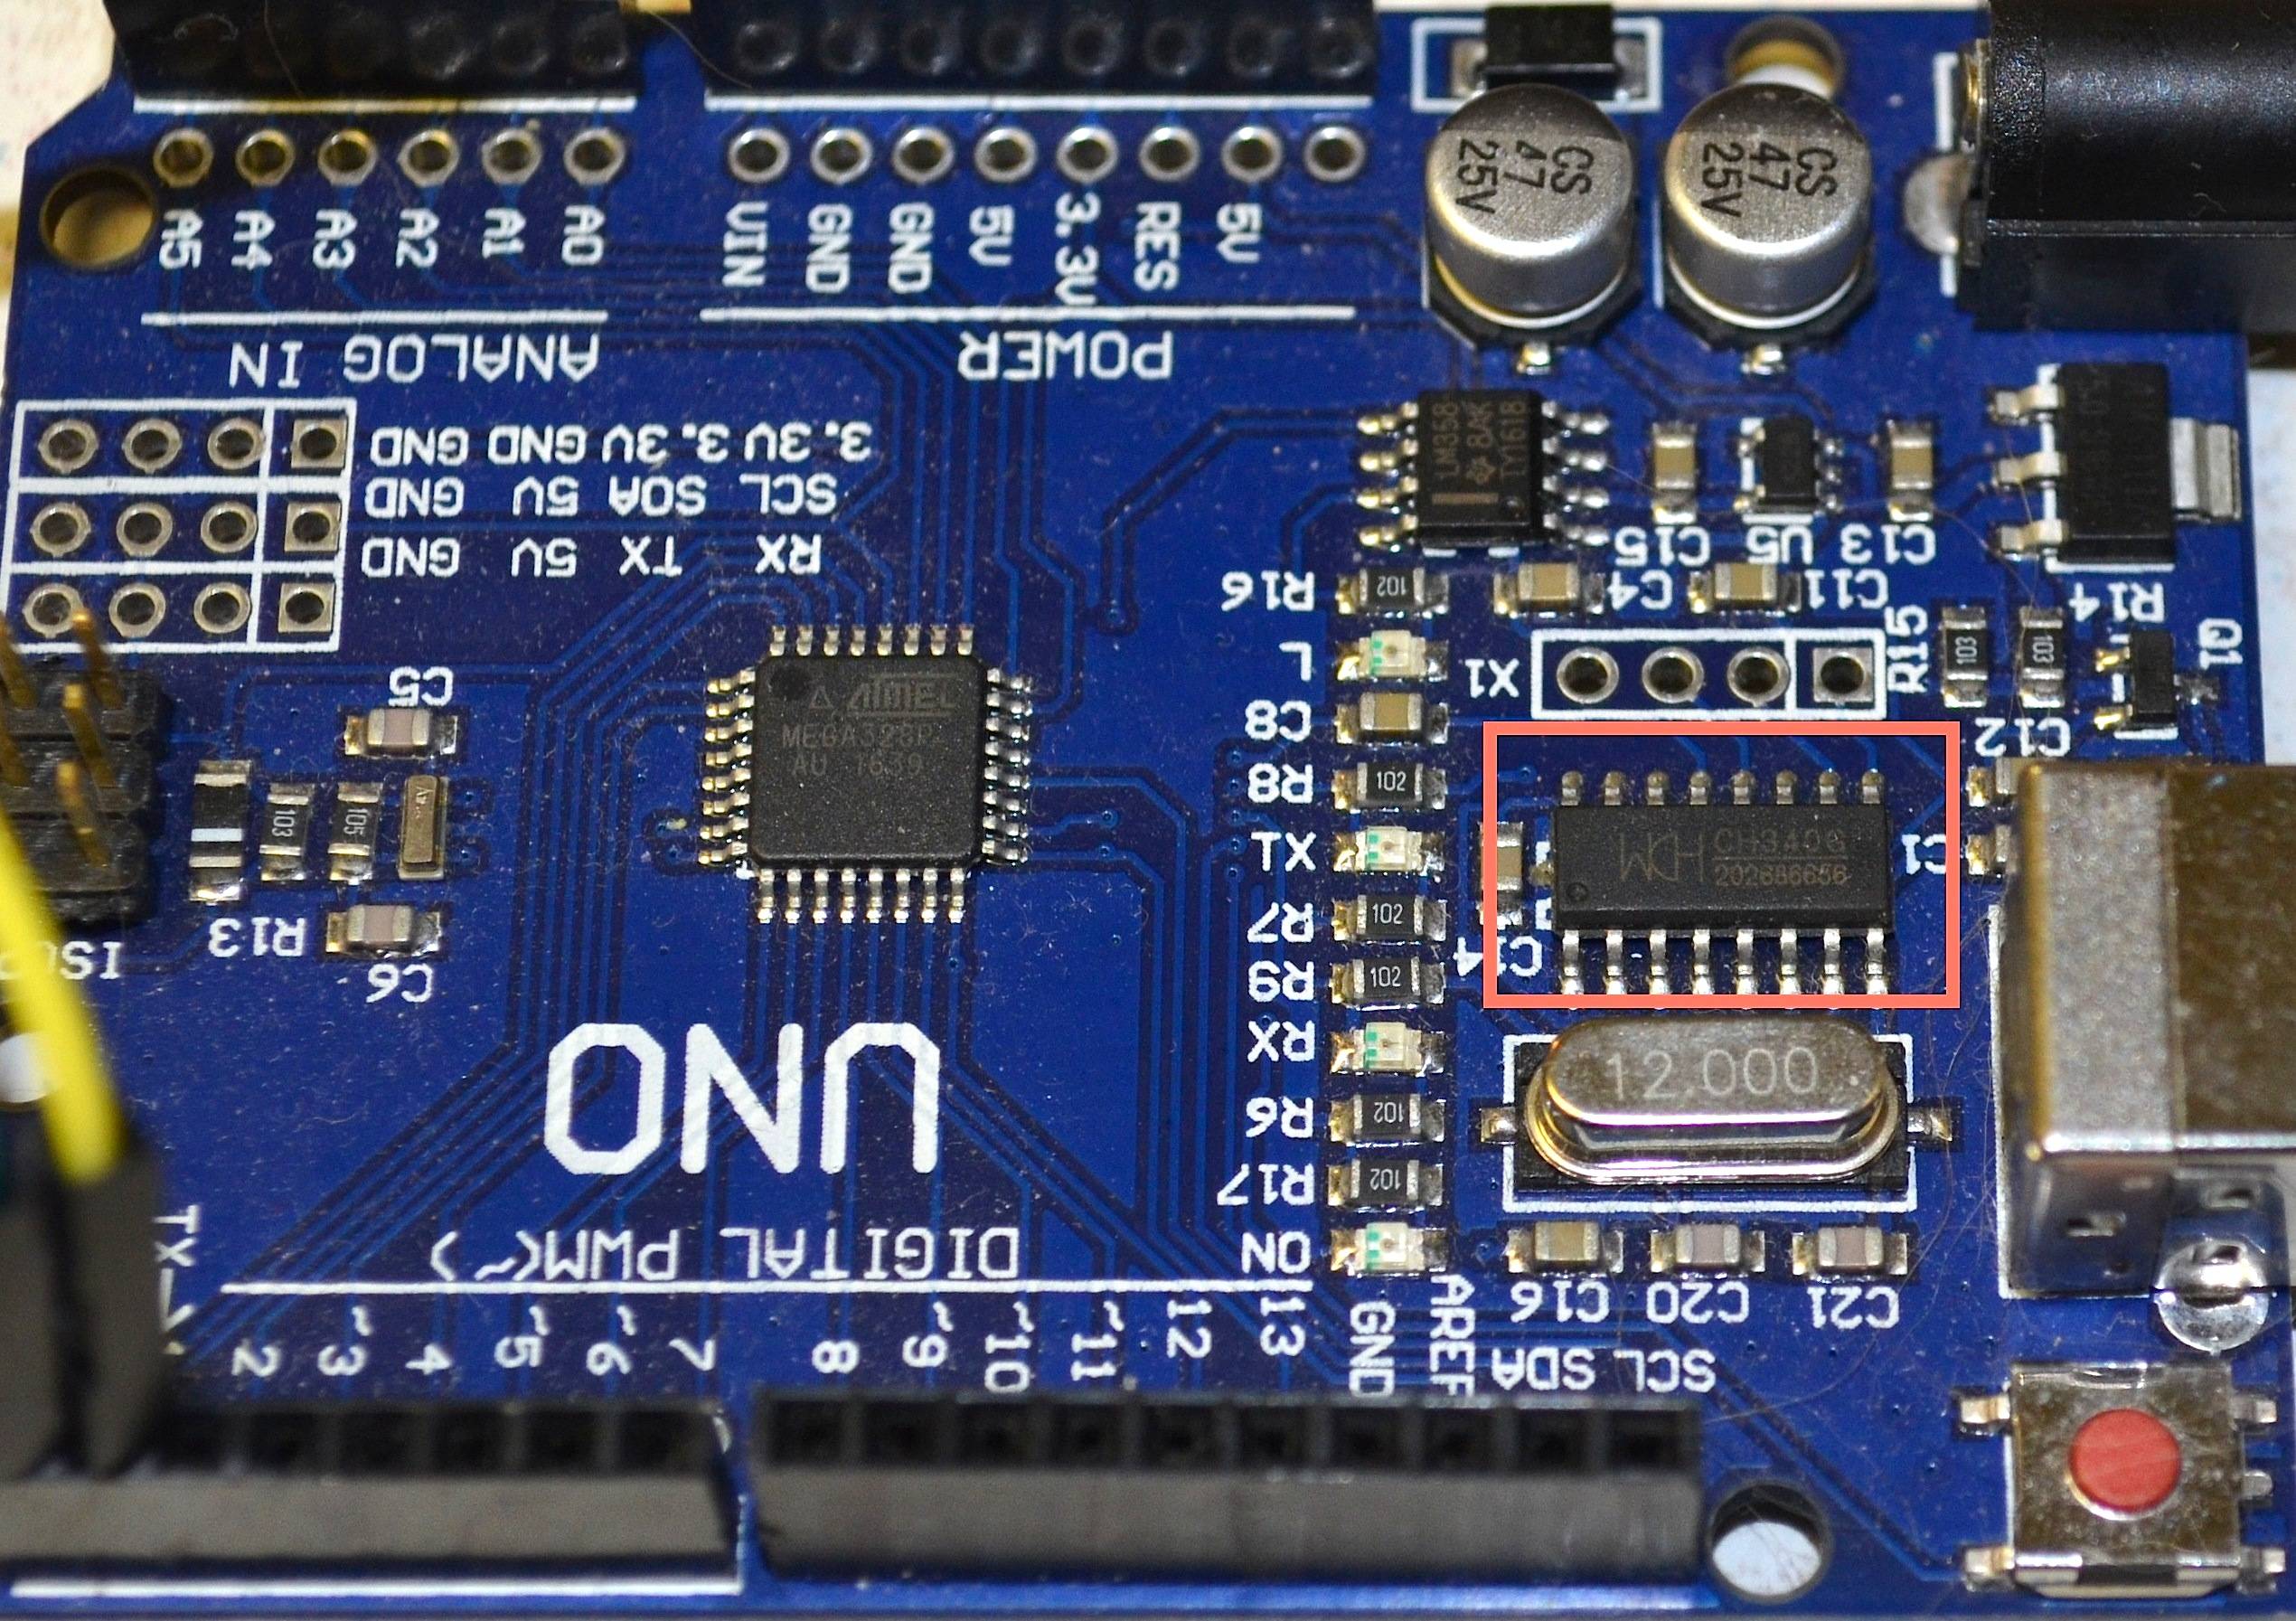
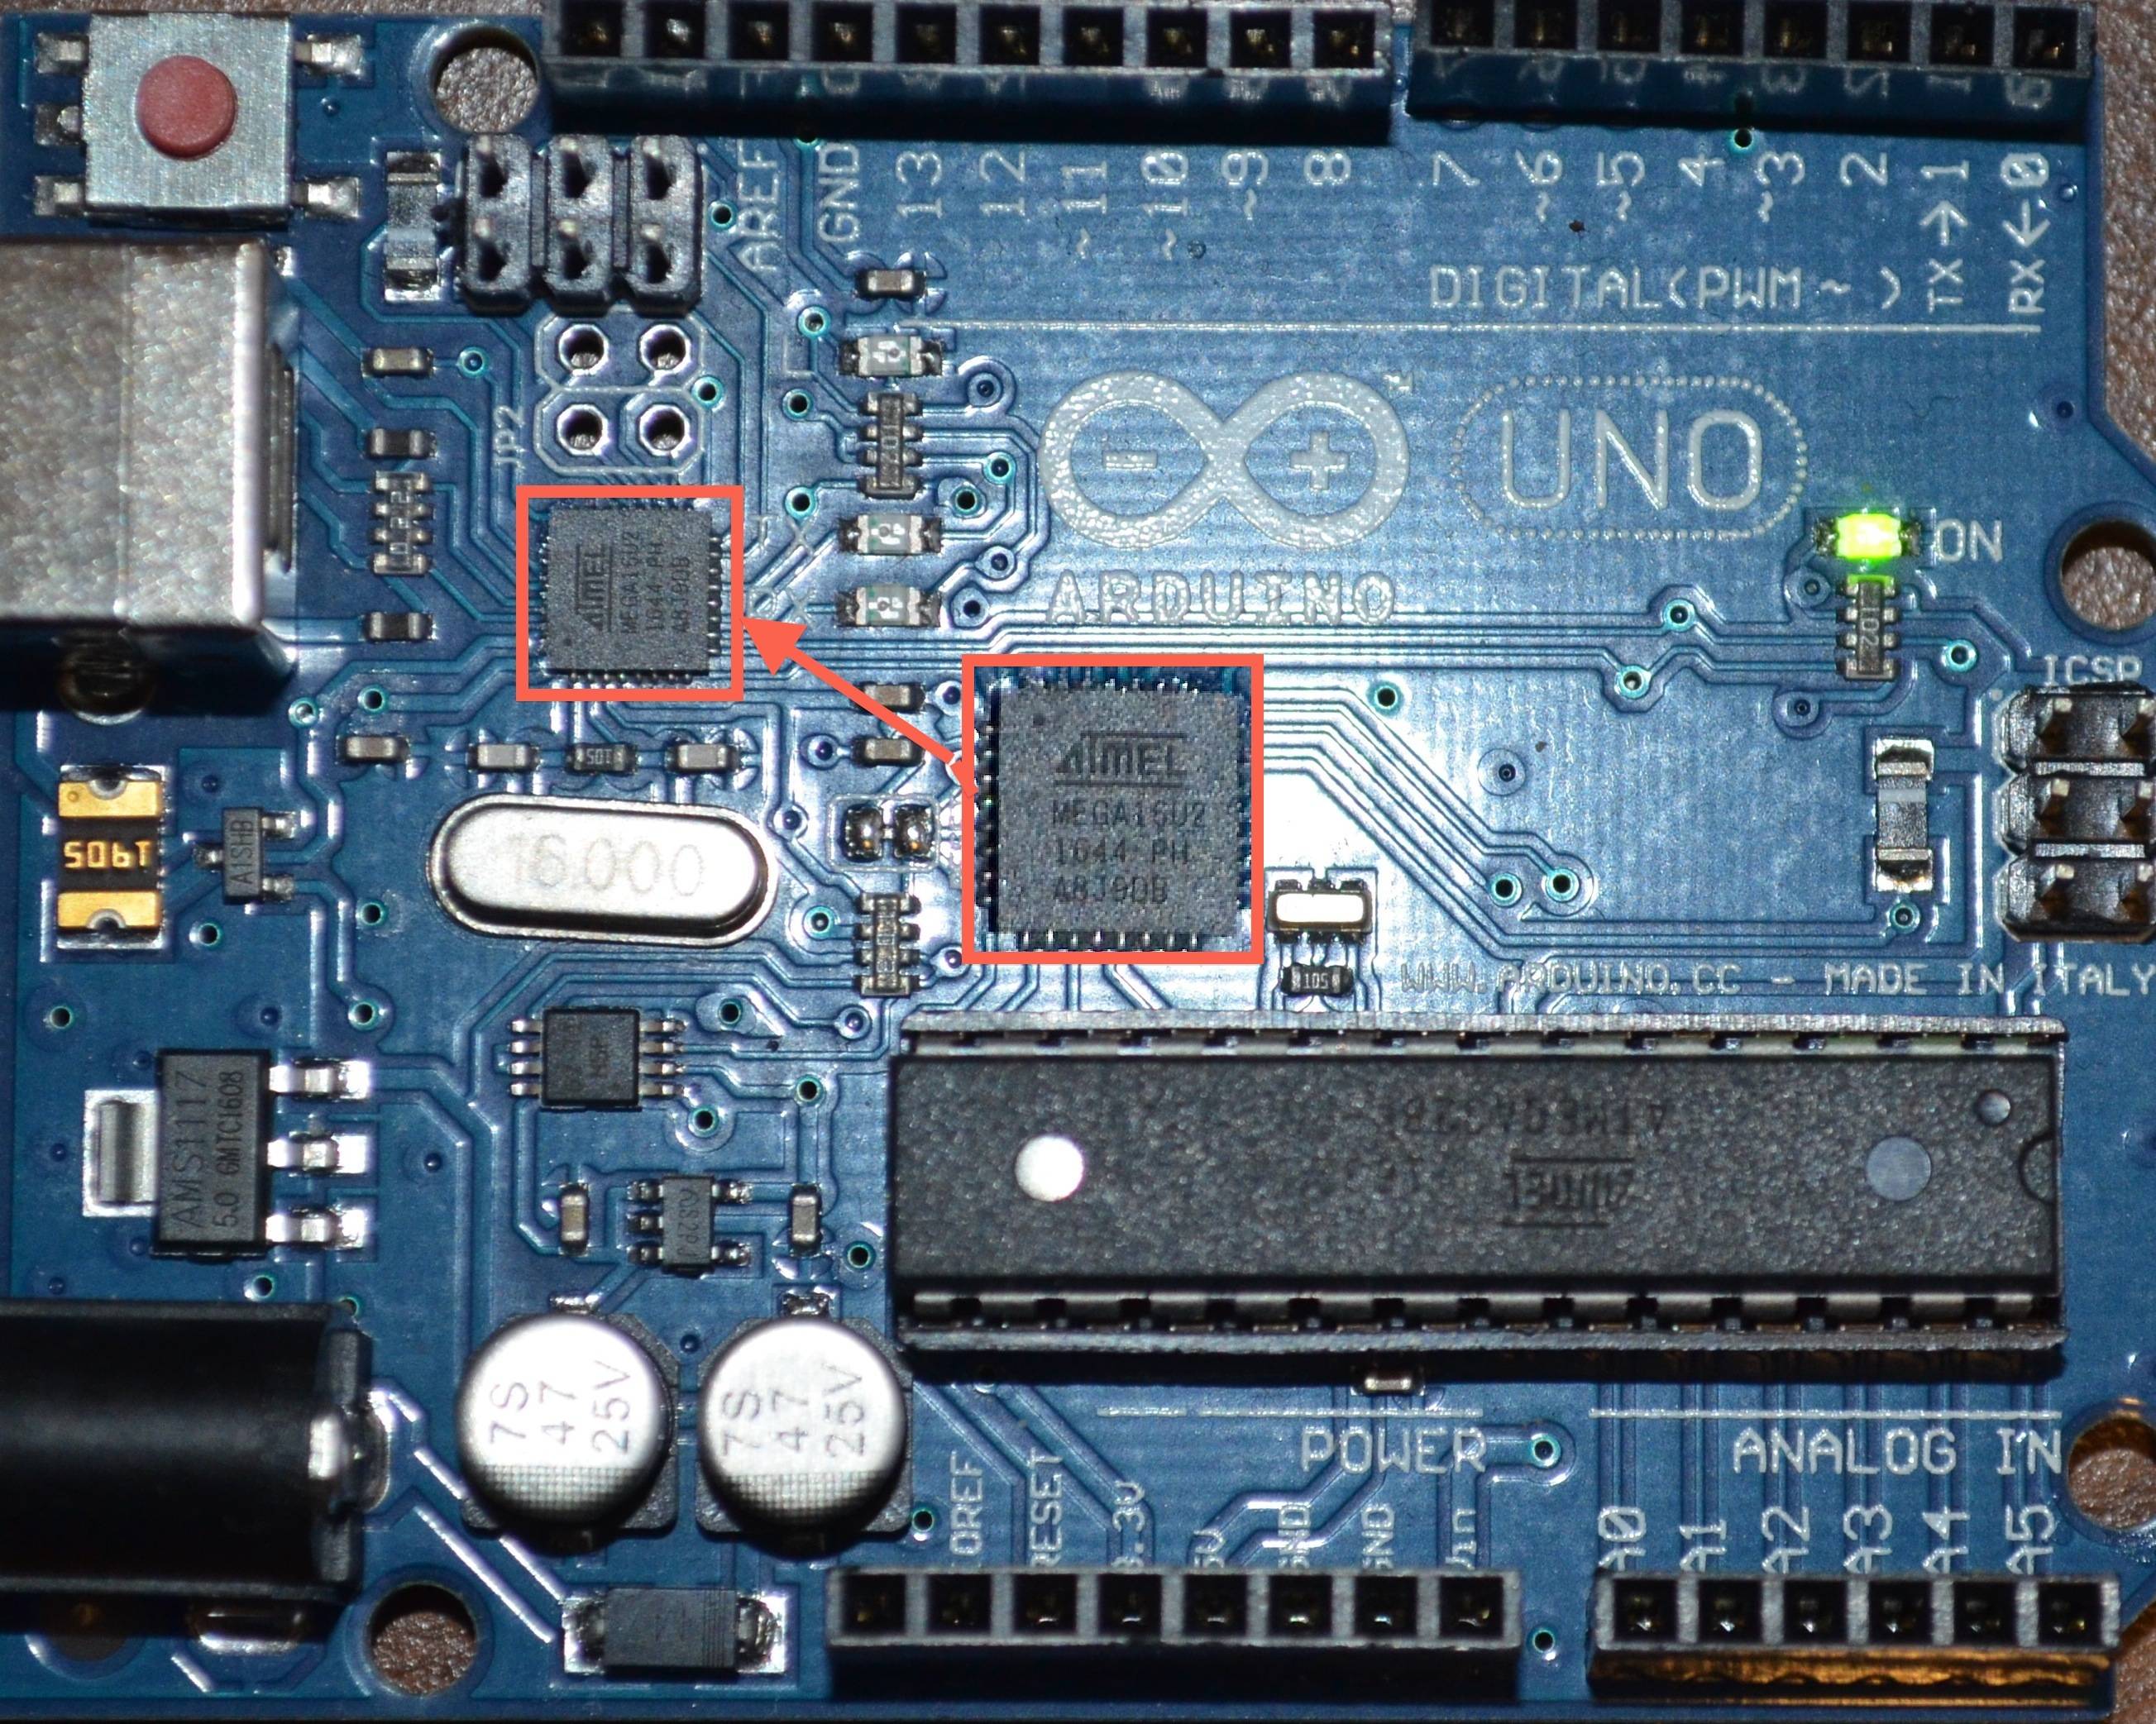
Don’t worry about the “cannot access…” message unless you get two of them. There are two sets of device names that the Arduino could be under depending on which type it is. Genuine UNO and similar boards (the ones with the ATMega16U2 chip as the USB interface) are /dev/ttyACM*. Clones using the CH340G, and FT232 based boards appear as /dev/ttyUSB*. We just asked for both there, so it complained when it couldn’t find any entries for one of the types. Which is fair enough. If you get:
$ ls -l /dev/ttyACM* /dev/ttyUSB*
ls: cannot access '/dev/ttyACM*': No such file or directory
ls: cannot access '/dev/ttyUSB*': No such file or directory
however, then worry. That can’t find anything at all. The computer doesn’t know the Arduino exists.
One thing to check is the permissions on the files that have been listed above. You see the word “dialout” in the list? That’s the group that the device belongs to, and it should match the group you added yourself to earlier. There are times when it may say “tty” instead. This is because some other program has grabbed the device and is using it to allow remote access to the computer through that serial port. For that you need to make sure that there are no agetty processes using that port. How you do that is very much down to your version of Linux. Modern Debian based systems (such as Debian Jessie and Ubuntu) use systemd to manage it. You can examine what is running on your system using
$ systemctl status
That returns a tree of all the services that your system is running. Look through that list to see if there are any “serial-getty” services running. If there are you should remove them:
$ sudo systemctl stop serial-getty@ttyACM0
$ sudo systemctl disable serial-getty@ttyACM0
While you’re there look through the list for another troublesome member: ModemManager. This is a program used to dial out to the internet through old-fashioned modems (you know, the kind that go beep beep beep squark squeek squark ) or USB DSL modems (that no one uses any more, we’re all wireless now. Remember the old green “frog” modem from way back when…?). That has a habit of grabbing a serial port as soon as it appears and trying to configure a modem attached to it. While that’s happening nothing else can access the serial port. It’s especially a problem with boards like the Arduino Leonardno or chipKIT Lenny which create a new serial port when they enter programming mode. So unless you really need the functionality that ModemManager provides you should just remove it:
$ sudo apt-get remove modemmanager
Reading package lists... Done
Building dependency tree
Reading state information... Done
The following packages will be REMOVED
modemmanager
0 to upgrade, 0 to newly install, 1 to remove and 138 not to upgrade.
After this operation, 2,826 kB disk space will be freed.
Do you want to continue? [Y/n] y
(Reading database ... 180827 files and directories currently installed.)
Removing modemmanager (1.4.12-1ubuntu1) ...
Created symlink from /run/systemd/system/ModemManager.service to /dev/null.
Removed symlink /run/systemd/system/ModemManager.service.
Processing triggers for man-db (2.7.5-1) ...
Processing triggers for hicolor-icon-theme (0.15-0ubuntu1) ...
Processing triggers for dbus (1.10.6-1ubuntu3) ...
Another useful tool is lsusb. This lists the USB devices that are connected to your computer. You should find your Arduino listed there. This is especially useful for boards that don’t present a serial port for programming, but we’ll cover those in more depth a little later on.
$ lsusb
Bus 001 Device 001: ID 1d6b:0002 Linux Foundation 2.0 root hub
Bus 002 Device 002: ID 80ee:0021 VirtualBox USB Tablet
Bus 002 Device 001: ID 1d6b:0001 Linux Foundation 1.1 root hub
Nothing much on this computer. Well, actually I am using a virtual machine for this, as you can see by the VirtualBox USB Tablet entry. But let’s connect my Arduino UNO:
$ lsusb
Bus 001 Device 001: ID 1d6b:0002 Linux Foundation 2.0 root hub
Bus 002 Device 004: ID 2341:0001 Arduino SA Uno (CDC ACM)
Bus 002 Device 002: ID 80ee:0021 VirtualBox USB Tablet
Bus 002 Device 001: ID 1d6b:0001 Linux Foundation 1.1 root hub
So we know that the operating system has identified it. You can find out lots more information about it if you so desire, with:
$ lsusb -v -d 2341:0001
That gives you all the device descriptors for the device. Tells you all you could ever want to know about the information the board sends to the computer when it is connected.
Another useful tool is dmesg. This is the system message log viewer and can be used to find out exactly what is going on with your computer. It has a useful “keep running” mode specified by the flag -w. I like to run dmesg and then press return a few times to create a breakpoint in the listing, then plug in the board I am diagnosing to see just what the messages are that pertain to that board:
$ dmesg -w
[ 0.000000] Initializing cgroup subsys cpuset
[ 0.000000] Initializing cgroup subsys cpu
[ 0.000000] Initializing cgroup subsys cpuacct
[ 0.000000] Linux version 4.4.0-24-generic (buildd@lgw01-12) (gcc version 5.3
... lots of stuff spools past ...
[ 19.425870] NFS: Registering the id_resolver key type
[ 19.425883] Key type id_resolver registered
[ 19.425885] Key type id_legacy registered
<press return a few times>

<connect Arduino>
[ 131.232511] usb 2-2: new full-speed USB device number 3 using ohci-pci
[ 131.519307] usb 2-2: New USB device found, idVendor=2341, idProduct=0001
[ 131.519312] usb 2-2: New USB device strings: Mfr=1, Product=2, SerialNumber=220
[ 131.519315] usb 2-2: Product: Arduino Uno
[ 131.519317] usb 2-2: Manufacturer: Arduino (www.arduino.cc)
[ 131.519319] usb 2-2: SerialNumber: 64934333235351B002E0
[ 131.605485] cdc_acm 2-2:1.0: ttyACM0: USB ACM device
[ 131.613792] usbcore: registered new interface driver cdc_acm
[ 131.613796] cdc_acm: USB Abstract Control Model driver for USB modems and ISDN adapters
Press CTRL+C to terminate the listing.
If nothing appears when you connect the Arduino then there is something fatally wrong. My money is either on a faulty cable (some cheap cables on eBay only have power wires and no data wires) or the Arduino itself is completely dead.
More likely though you get error messages. I can’t replicate them right now (I don’t have a faulty Arduino) but they usually pertain to things like “device not accepting address” and “Error -71”. This is usually caused by bad USB communication. It may, again, be a faulty cable, or it may be that the USB interface chip is not working right. Maybe the crystal has drifted and it’s not running at precisely the right frequency. Maybe it’s a cheap CH340 chip that has failed. Maybe the firmware on the ATMega16U2 has become corrupted.
If all that checks out fine so far and you still can’t upload a sketch there may be something even more fundamentally wrong with your Ardunio board. Maybe it’s time to look to see if there is actually any communication happening. I find the program minicom invaluable, although you could use the ghastly Serial Monitor in the Arduino IDE.
First you need to disable the main chip on your Arduino. You can do this simply by connecting the RESET pin to GND with a piece of wire. Or you can hold the RESET button down, but that means you’re then typing one-handed. That stops the main chip from interfering in any way with the serial communications while you’re testing it. It can also prevent any damage to the chip while testing.
The second step is to connect the TX and RX pins together (pins 0 and 1 usually) with another piece of wire. You are now in what is known as a loopback mode. Any serial data you send to the board should be sent straight back to where it came from. So now fire up minicom and try it out (you will need to install it first of course with sudo apt-get install minicom).
$ minicom -D /dev/ttyACM0 -b 115200
Of course replace the /dev/ttyACM0 with the real device name for your board. The -b 115200 is the baud rate, though that is pretty much irrelevant since we’re not actively communicating with an external device.
Now you should be able to type some gibberish and get some gibberish back. If you do then communication is working fine, and the problem most likely lies within the target MCU – maybe the bootloader has become corrupted and needs re-flashing, or the chip has died.
CTRL+A, X gets you back out of minicom again.
If you didn’t get your gibberish back, or you got back different gibberish than you sent, then there is definitely something up with the serial communications. The main culprit is, again, the USB interface chip.
All this, of course, has been focusing on the traditional Arduino style interface with a USB serial port of some form. Not all boards give you that though. Some, such as the Launchpad boards, use a hardware programmer on the board, and that doesn’t always give a serial port – certainly the programming isn’t done through the serial port. To gain access to those (again by default you don’t have permission to access the low-level devices) you have to get deeper into the operating system.
For these you need to make modifications to the configuration of a system called udev. This is a management system for the devices on your computer and is used to control what happens to them when they are plugged in. One of the things you can do is set the permissions on that device so people can actually access it.
The system is configured by a set of rules in “rules files”. These are stored in /etc/udev/rules.d and there should already be a few in there for other purposes. You will need to, as root, create a new file to put your rules in.
$ sudo nano /etc/udev/rules.d/50-boards.rules
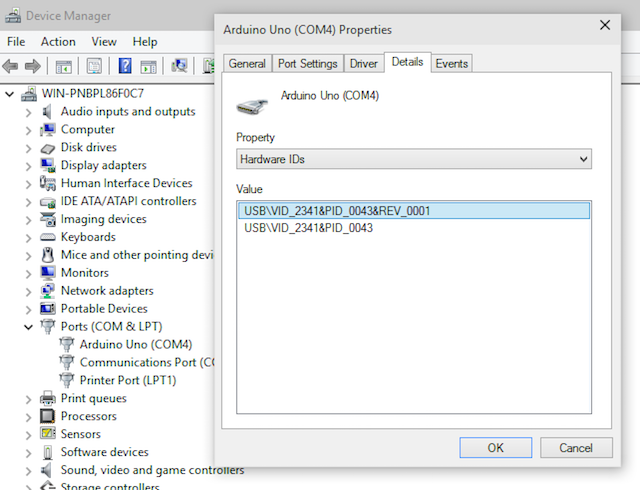
The most important thing to know is the VID and PID (Vendor ID and Product ID) of your board. You can get that from lsusb as above (it’s the vvvv:pppp bit – v = VID, p = PID). You can then feed that into a simple rule, such as:
ATTRS{idVendor}=="04d8", ATTRS{idProduct}=="0033", MODE="0660", GROUP="plugdev"
There we are matching a vendor (04d8 = Microchip) and product (0033 = PICkit2) and assigning it to the group plugdev (make sure you are in that group – default users should be already) and allowing the group members read and write access to it (MODE="0660"). Save that file and restart udev for the changes to take effect (or reboot your computer if you like):
$ sudo /etc/init.d/udev restart
Now plug the device in and you should have permission to access it.

