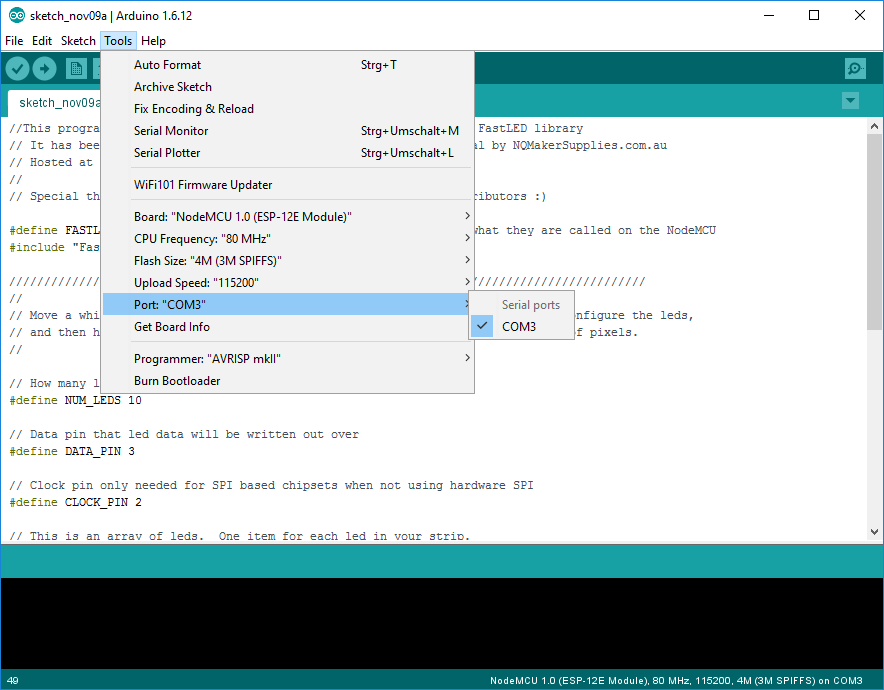
After hours of searching for a solution and try many ways of wiring, I must asking here for Help:
I'm using a ESP8266 (ESP-12E) with a WS2801 - 4 Wire LED Strip and using this Pinout-Diagram to connect WS2801 wires to NodeMCU.
https://alexbloggt.com/wp-content/uploads/2015/10/nodemcu_pinout_700.png
Here is my Wiring:
LED     ESP
====   =====
5V --> Vin
GND --> GND
CK --> GPIO2 (D4)
SI --> GPIO3 (RX)
I have found this sample Program which should turn on and off all LEDs one after each other for 100ms. But it happens nothing after compiling and uploading it to NodeMCU board using Arduino IDE. Any help is highly appreciated.
//This program was taken from the FirstLight.ino supplies with the FastLED library
// It has been modified for use with a NodeMCU for use in a tutorial by NQMakerSupplies.com.au
// Hosted at theMakers.org.
//
// Special thanks to the people behind FastLED.io and all the contributors :)

#define FASTLED_ESP8266_NODEMCU_PIN_ORDER   // map output pins to what they are called on the NodeMCU
#include "FastLED.h"

///////////////////////////////////////////////////////////////////////////////////////////
//
// Move a white dot along the strip of leds.  This program simply shows how to configure the leds,
// and then how to turn a single pixel white and then off, moving down the line of pixels.
//

// How many leds are in the strip?
#define NUM_LEDS 10

// Data pin that led data will be written out over
#define DATA_PIN 3

// Clock pin only needed for SPI based chipsets when not using hardware SPI
#define CLOCK_PIN 2

// This is an array of leds.  One item for each led in your strip.
CRGB leds[NUM_LEDS];

// This function sets up the ledsand tells the controller about them
void setup() {
    // sanity check delay - allows reprogramming if accidently blowing power w/leds
   delay(2000);
   FastLED.addLeds<WS2801, DATA_PIN, CLOCK_PIN, RGB>(leds, NUM_LEDS);
}

// This function runs over and over, and is where you do the magic to light
// your leds.
void loop() {
   // Move a single white led
   for(int whiteLed = 0; whiteLed < NUM_LEDS; whiteLed = whiteLed + 1) {
      // Turn our current led on to white, then show the leds
      leds[whiteLed] = CRGB::White;
      // Show the leds (only one of which is set to white, from above)
      FastLED.show();
      // Wait a little bit
      delay(100);
      // Turn our current led back to black for the next loop around
      leds[whiteLed] = CRGB::Black;
   }
}

